Crochet a Cap

If you are more comfortable crocheting, then you can absolutely make a Sassy Cap that way!  The most important thing is to choose a yarn that is fun & will feel soft on bare skin.

With crocheting, you can easily get 2 caps per skein of yarn, so these are pretty economical.  You can also get away with thinner, or lighter weight yarn that would look “holey” if it were knitted on a loom. Experiment to see what you like best

I like the texture of spin yarns for loom-knitting a cap.  I’ve found 2 brands that I use a lot.  Lion Brand’s Homespun and Loops & Threads’ Country Loom Yarn.  Both work great and both come in variegated colors, which makes the caps interesting with less work for you!

Here’s a crochet pattern we found online for a Chemo Cap. But there’s no “one right way” to do them.  Explore some of the other patterns at Yarnspirations.com for some even Sassier options!

screen-shot-2017-02-03-at-4-03-59-pm

How do I make a loom hat?

Let me start by saying – I am in no way talented when it comes to crafts.  As a matter of fact, when I told my mother that I had started loom knitting a few years ago, she immediately burst into hysterical fits of laughter.  Just to punish her, I sent her my first hat & scarf and she wore them all the time.  Now, I am totally addicted to loom knitting.  It is fun, easy & helps me feel productive and less guilty when I’m watching mindless television.

IMG_1698 - Version 2 (1)

This is our 91-year-old grandmother making her first Sassy Cap, proving you are never too old to learn to loom knit!

Materials Needed:

  • 9-10″ loom with a little hook (comes with it)
  • Soft yarn in a fun color (can get 1-2 hats per skein, depending on the yarn)
  • Optional: Decorative yarn for the brin (feathers, fur, etc.)

For more discussion on what types of yarn & looms work best, click here: The stuff…

Directions:

Most looms come with written directions, but I learn best by watching someone do it.  Here’s a great video tutorial that shows how to loom knit  a basic hat, from start to finish.  The instructor uses 2 strands of yarn to make the hat a little tighter, but I just use one.  I don’t mind that my hats have a little more breathing space, and the softer yarns are often a little thicker.  But experiment!  Have fun!

Now what?

Congratulations!  You are officially a Sassy Capper!  Now you are ready to package your hat to give away.  Click here for  printable labels and directions: Sassy Caps

The stuff…

As I’ve mentioned, I’m not a super crafty person, but I do like buying “the stuff” to do crafty things!  Stuff is a good word for it, because I usually have to then “stuff” it into my closet, rarely to be seen or heard from again.

Good news – there is “stuff” for loom knitting.  Even better news – it costs less than $10 and packs up small.  🙂  Basically, all you need is a loom kit and some yarn.
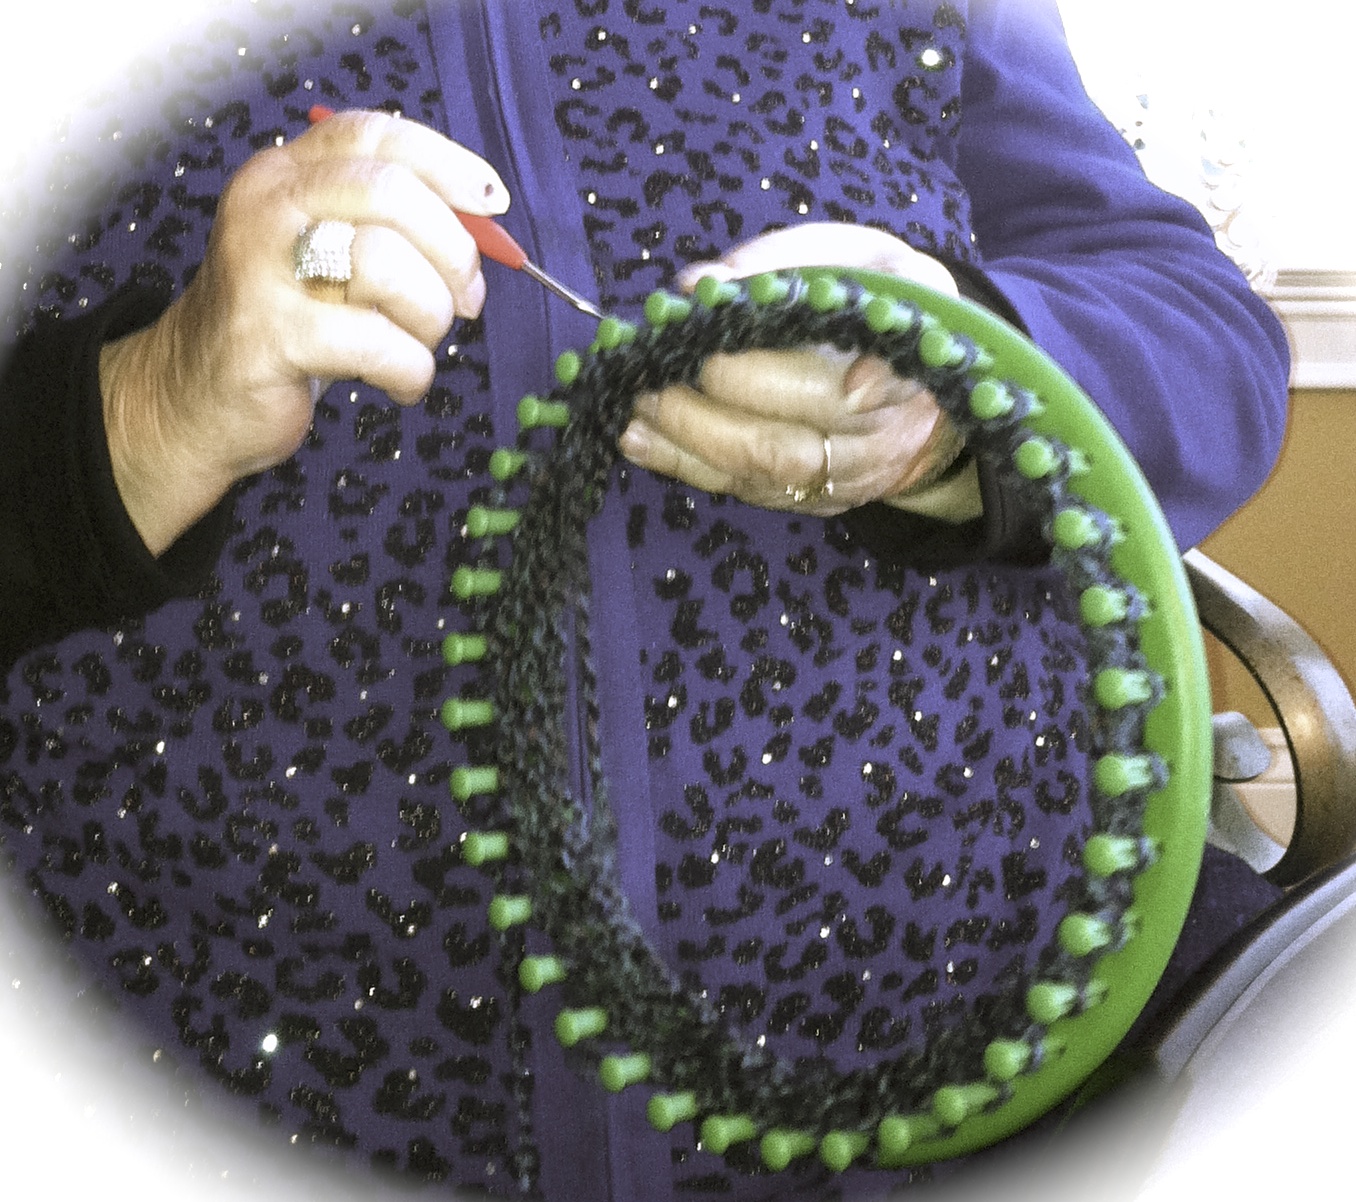
THE LOOM

DSCN0031 2

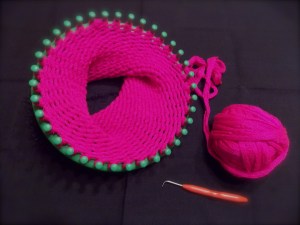
All looms are not created equal.  In fact, I purchased one for a friend that broke the first time she used it.  I like the Knifty Knitter looms (available here on amazon.com), but if you don’t want a whole set with different sizes, I also like the single 9.5″ loom by Loops & Threads (available at your local Michaels).

THE YARN

There are basically made up of 2 types of yarn – workhorse yarns & decorative yarn.  I am not a yarn snob.  I go with what is soft (no scratchy Super Saver yarn), fun, convenient, and on sale.

Workhorse Yarns – These are the yarns that will make up the most part of the caps – the part that covers the heads.  You can usually get 2 caps per skein of yarn, so these are pretty economical.  Of course, you should experiment to see what you like best, but these are the ones that I’ve used and liked:

DSCN0037 2

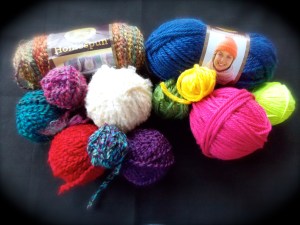
  • Spun Yarns – I like the texture of these yarns for loom-knitting a cap.  I’ve found 2 brands that I use a lot.  Lion Brand’s Homespun and Loops & Threads’ Country Loom Yarn.  Both work great and both come in variegated colors, which makes the caps interesting with less work for you!
  • Thick, Chunky Yarns (but not too thick) – Lion Brand has a Hometown USA label that has nice bright colors.  For you advanced loomers, I just do a regular “e-wrap” stitch when I use these yarns or they become too dense.
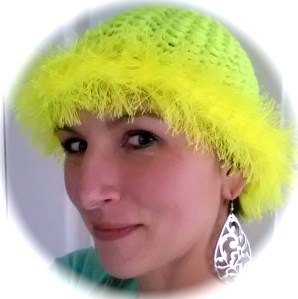
  • Free yarn or yarn in the perfect color – I don’t always get to choose the perfect texture of yarn.  For instance, I really wanted neon green (which is the color of lymphoma awareness) for a friend of mine.  You can see from the picture (it’s the ball all the way on the right), the only yarn I could find was a thinner one than I typically like to use.  No problem, I just used 2 strands of it instead of 1 and it worked out fine. Of course, it’s my gorgeous friend and her beautiful smile that gives it extra sass!.

IMG_1877

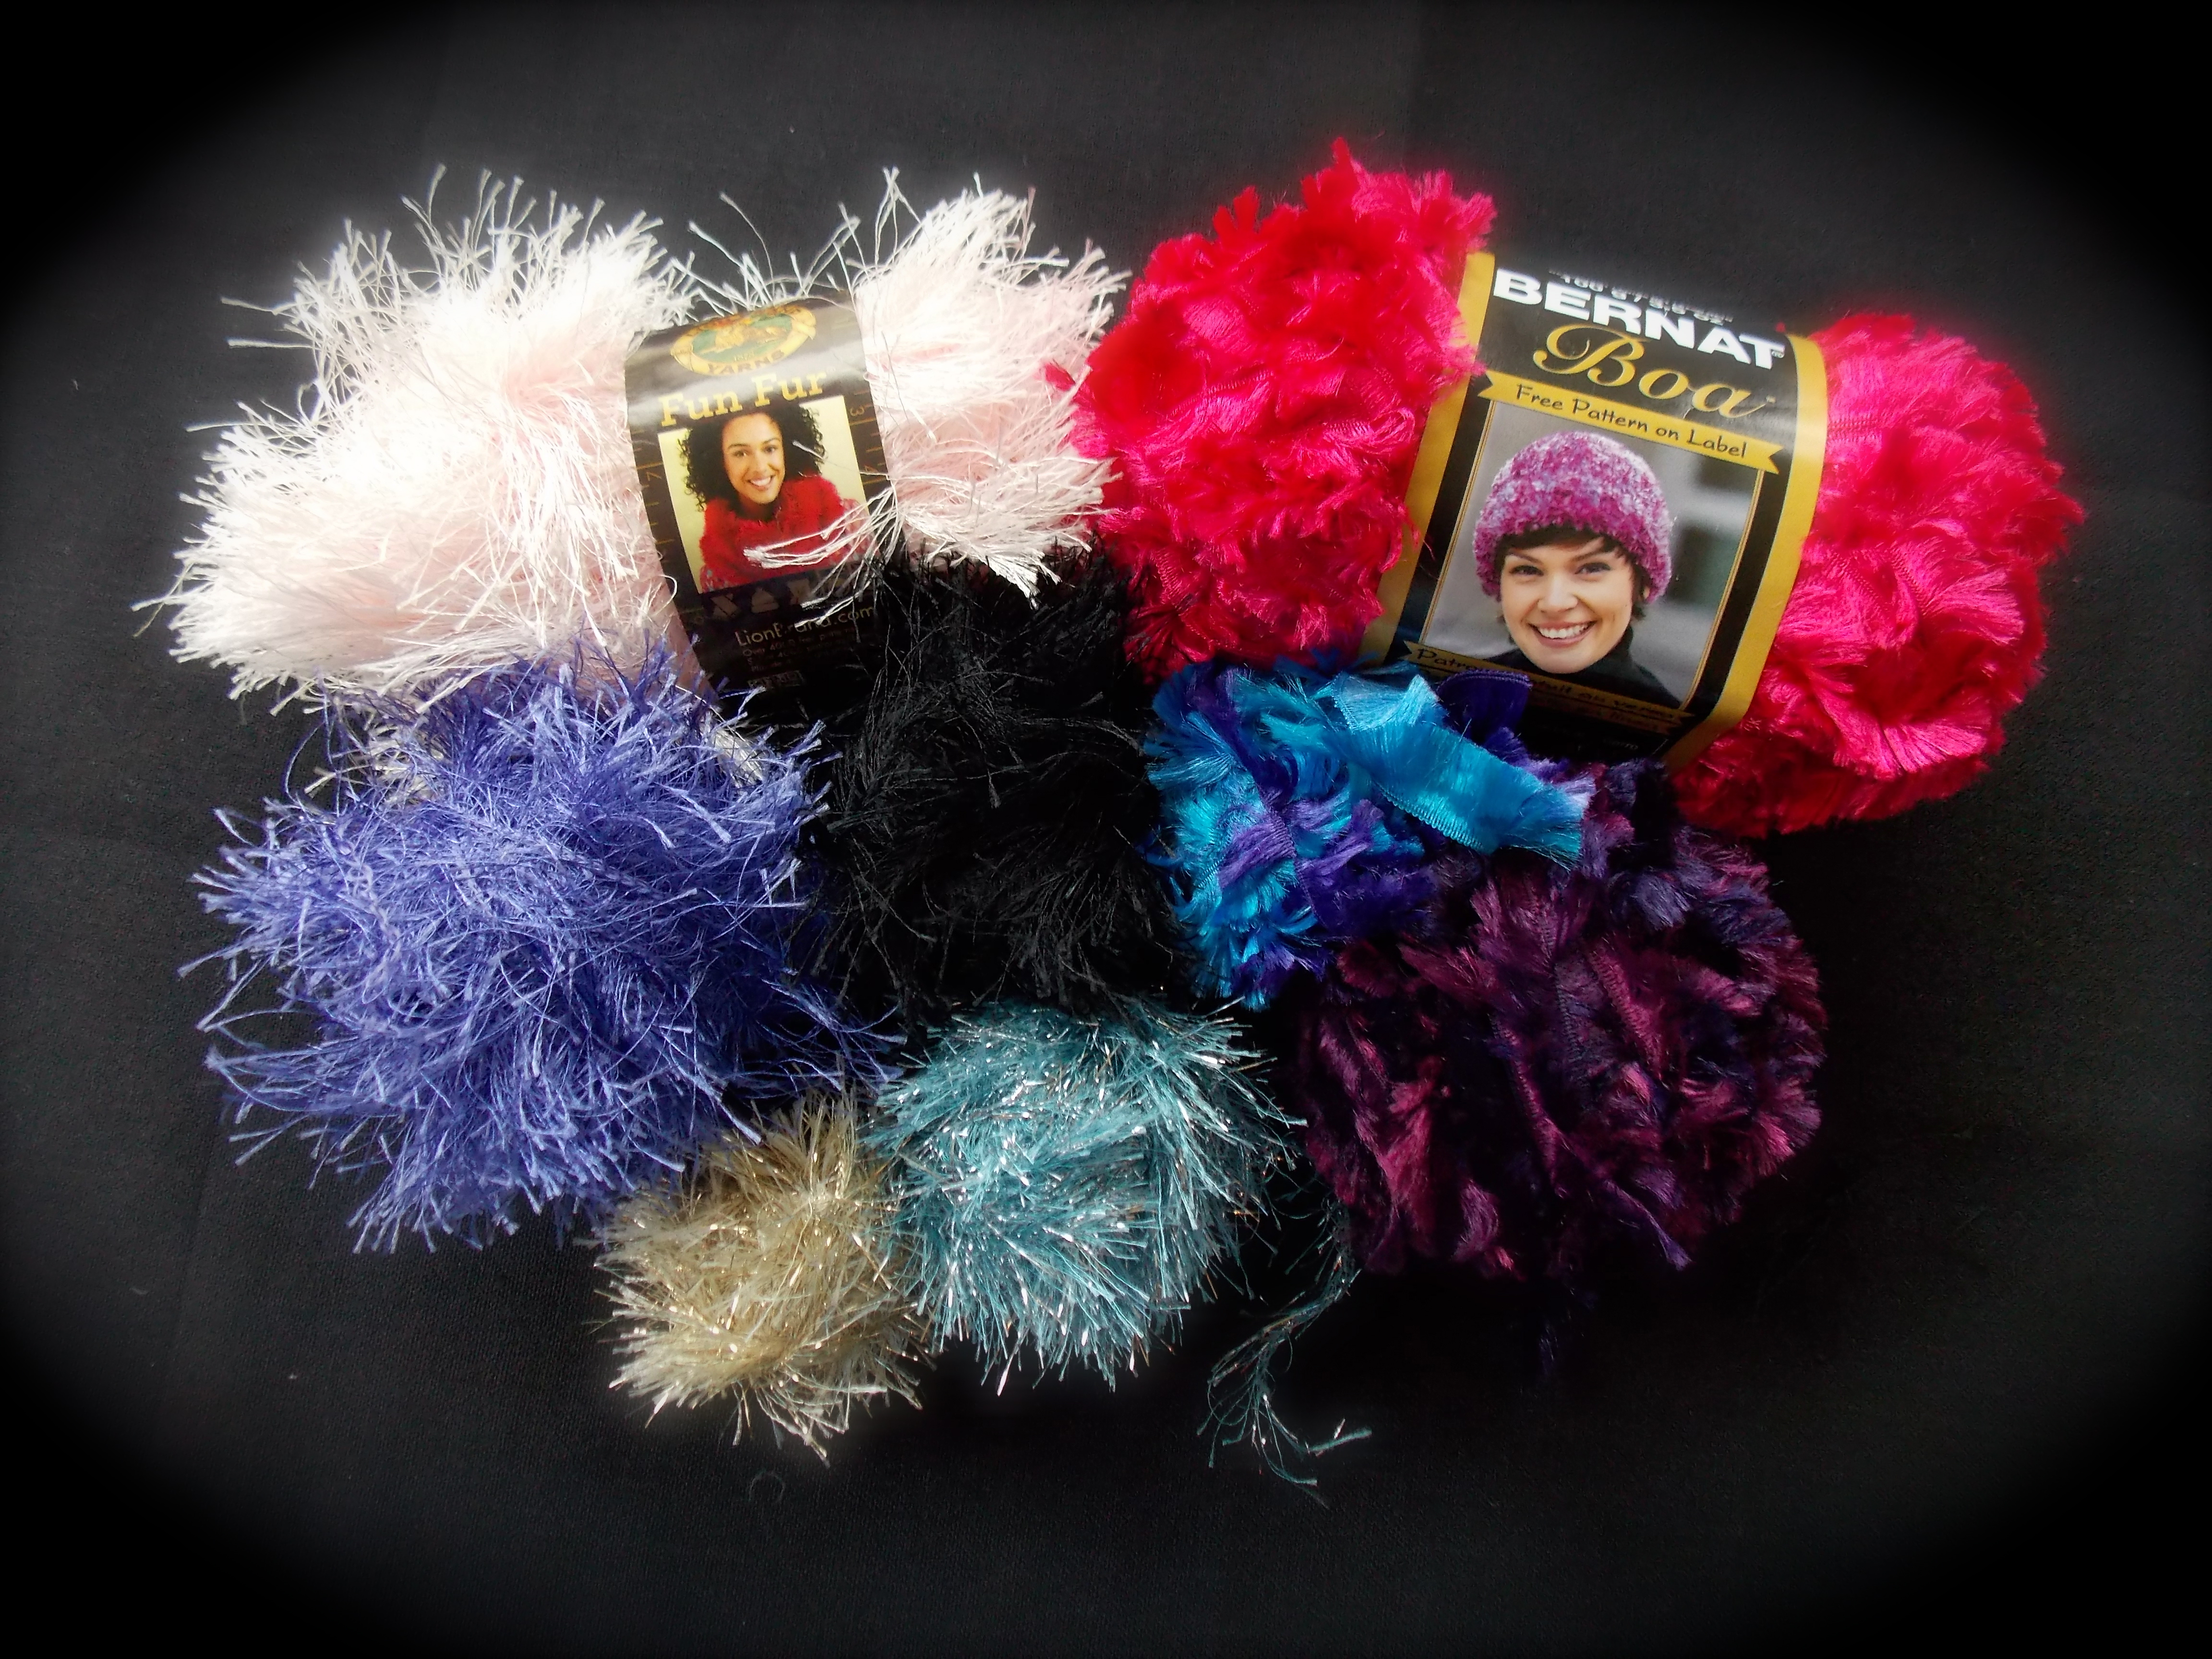
Decorative Yarns – These yarns provide the sparkle, fur, & feathers – in short, they will put the Sassy in your Cap.  I have made caps that are completely loomed from decorative yarns & they come out neat, but that can get pricey & sometimes comes off a little over the top.  Since these yarns tend to cost  more, I make them last by using them only on the brims or for embellishment.  They seem like they would be delicate or difficult to work with, but they all work just fine on the loom with a regular stitch.

DSCN0040 2

  • Eyelash –  What could be Sassier than glitter?  Martha Stewart makes a Glitter Eyelash yarn that sasses up boring workhorse yarns in style.  I made a plain cream-colored cap with Loops & Threads Country Loom yarn, but adding a gold Glitter Eyelash brim made it totally Sassy!
  • Fun Fur – Lion Brand’s Fun Fur is not as glittery, and a bit longer than the eyelash.  I love the super soft, fun texture it gives to caps.
  • Feather Yarn – I made an entire cap from this Bernat Boa Yarn.  It was SO soft (although it did have a Cookie Monster-esque vibe… might have been the bright blue color)

Can I make a Sassy Cap on a Sewing Machine?

DSCN0042

Yes!  Same rules apply – they have to be SOFT & FUN.  In terms of fabrics, choose a warm, soft fleece or a breathable stretchy cotton.  Print choices are endless, but make sure they are Sassy!  I’ve seen some neat hats that were plain colors but had a sequined applique embellishment.

img_2657

Seams-Out Sassy Cap Pattern

This pattern was created by Katrina Woolley specifically for Sassy Caps!  Katrina didn’t like how most of the patterns either require doubling the material (which, in fleece, is super heavy & hot) or had seams on the inside that could irritate the skin.  So she created this awesome hat that has all but 2 of the seams on the outside!  These have quickly become favorites to our Sassy Cap recipients, and are quick & easy, so give them a try!

Here are the directions (with pictures).  *Note – this was done with a plain, light gray fleece to make the pictures easier to understand.  It was also a special request from its intended recipient.  Don’t worry – we put a cute heart pin on it to Sassify it!

Cutting your pieces:

  1. Click here to download & print the Seams-Out Sassy Cap Pattern on cardstock.  Cut out the 3 pattern pieces: A, B & Cscreen-shot-2017-02-06-at-12-32-17-pm
  2. Find the stretch of the fleece. Place pattern pieces on the fold, matching the stretch direction.  Using a marking pen that washes out, trace & cut 3 of piece A, 2 of piece B, and 1 of piece C.  It’s important to use a washable pen because, with the raw edges exposed in this hat, you don’t want people to see your marks. img_2630img_2631
  3. Make sure all pieces roll the same direction when stretched to find the “right side” of the fleece.  When pulled, sides will automatically roll toward the wrong side.img_2640

Making the Band:

  1.  Pin 2 of the A pieces along the long side, wrong sides together.  Fleece moves, so whenever you are pinning, be sure to match the ends first, then the center, then fill in. Sew with a 1/2″ seam.img_2633
  2.  Pin the 3rd A piece to the other 2 sewn pieces, wrong sides together, and sew to attach the same way.img_2634 
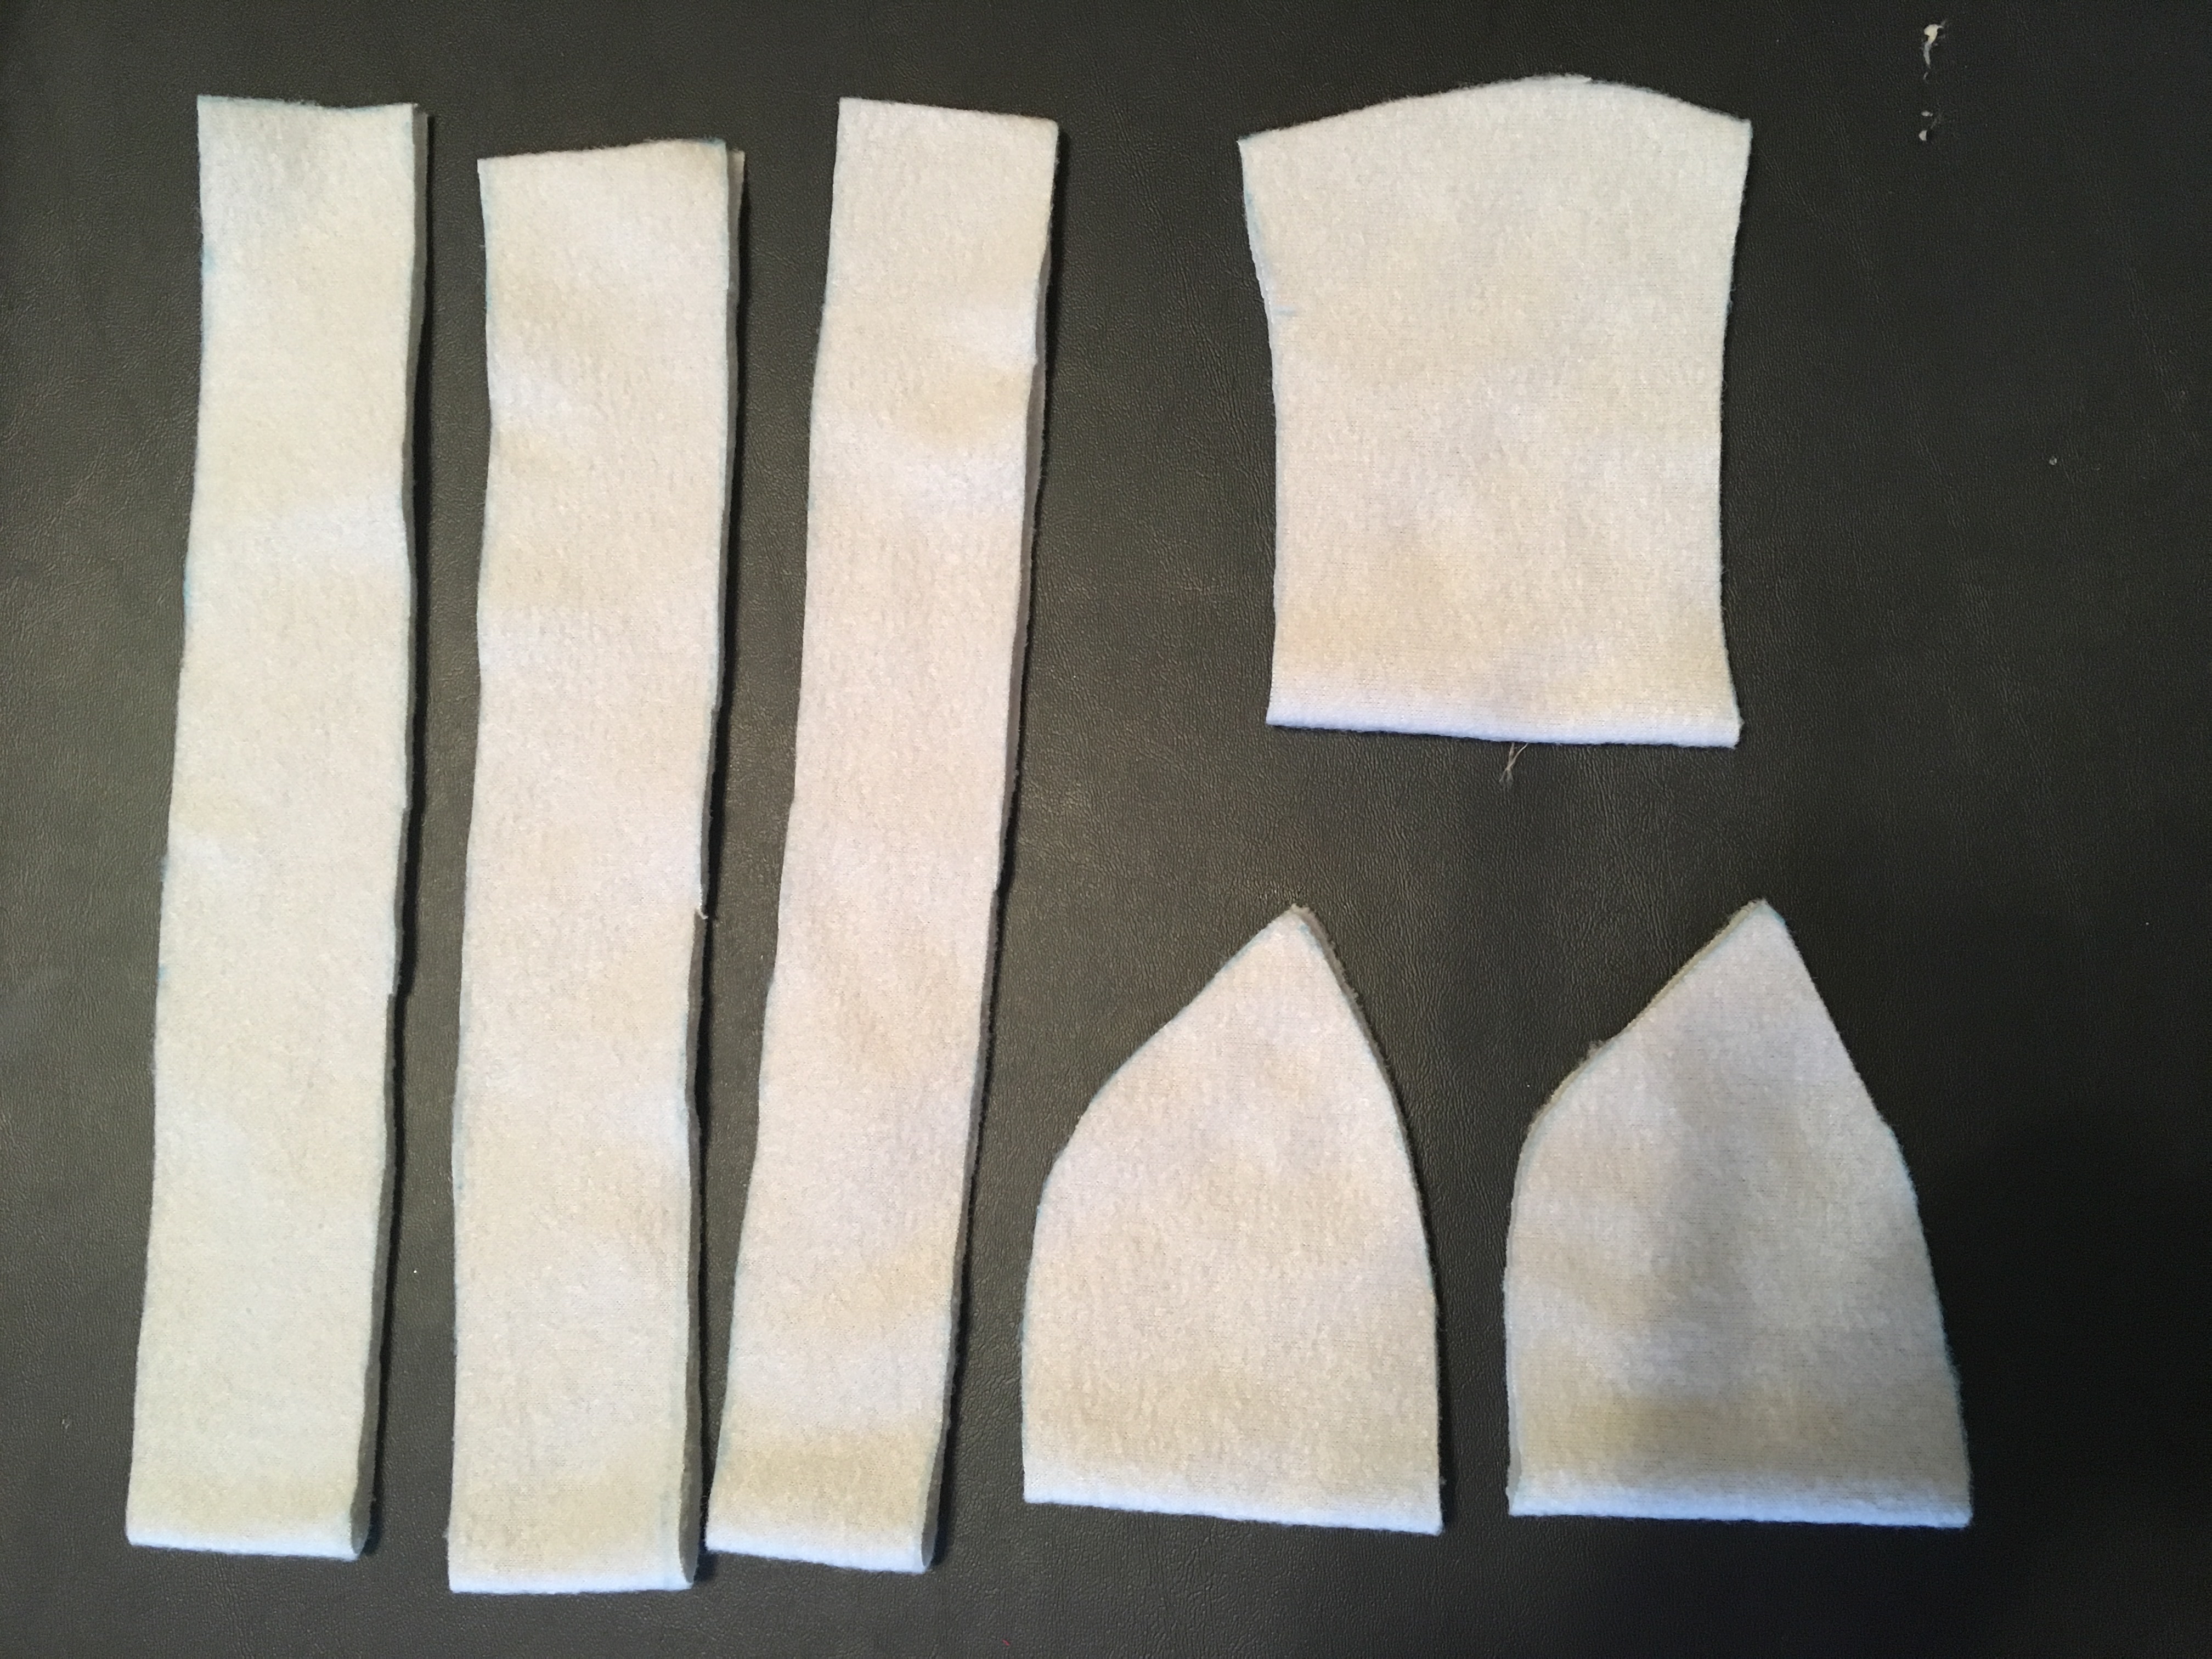
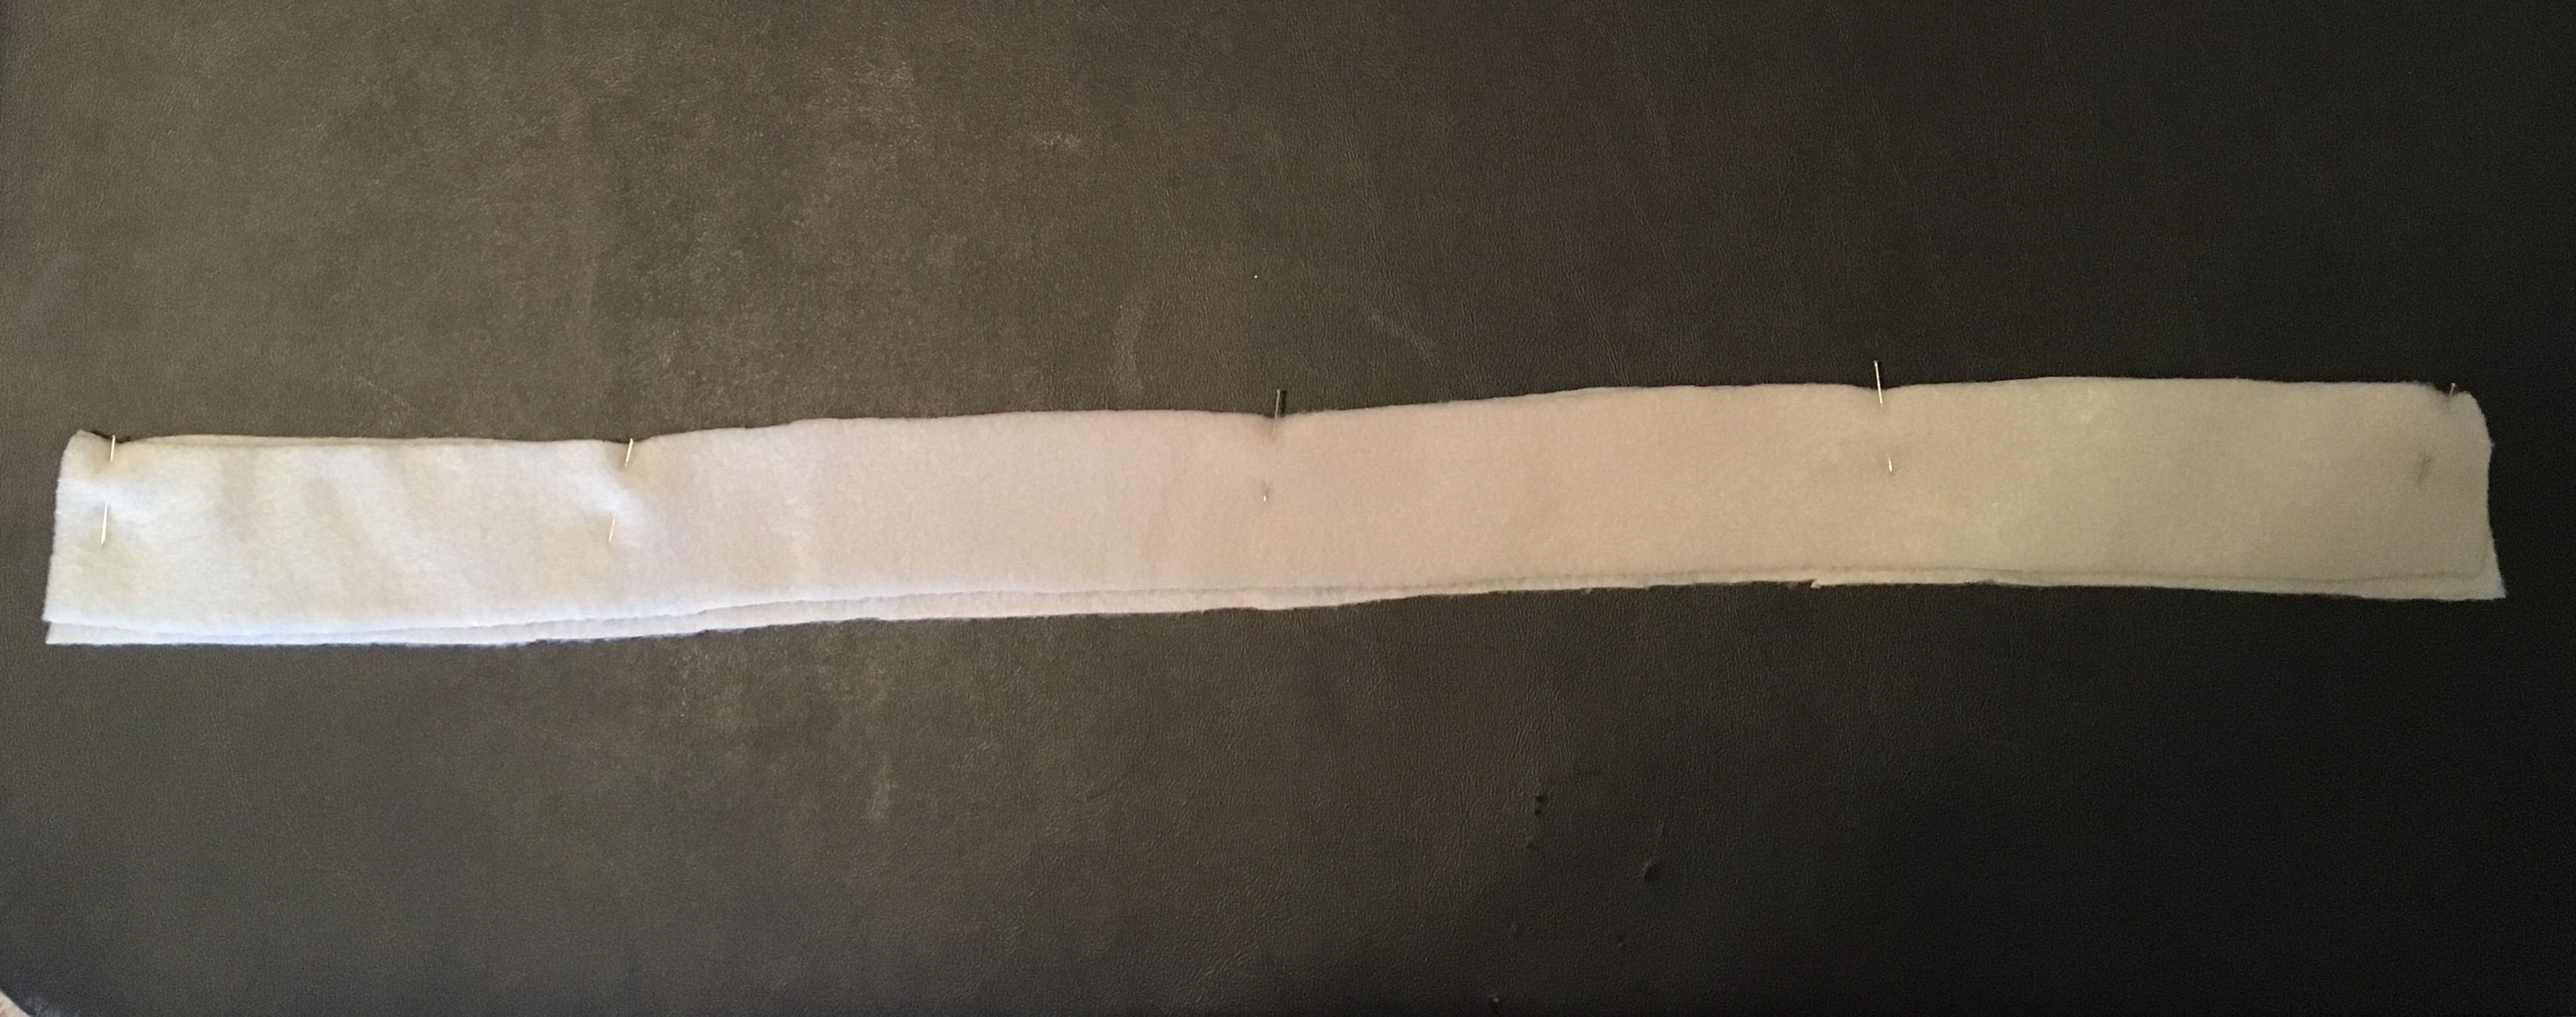
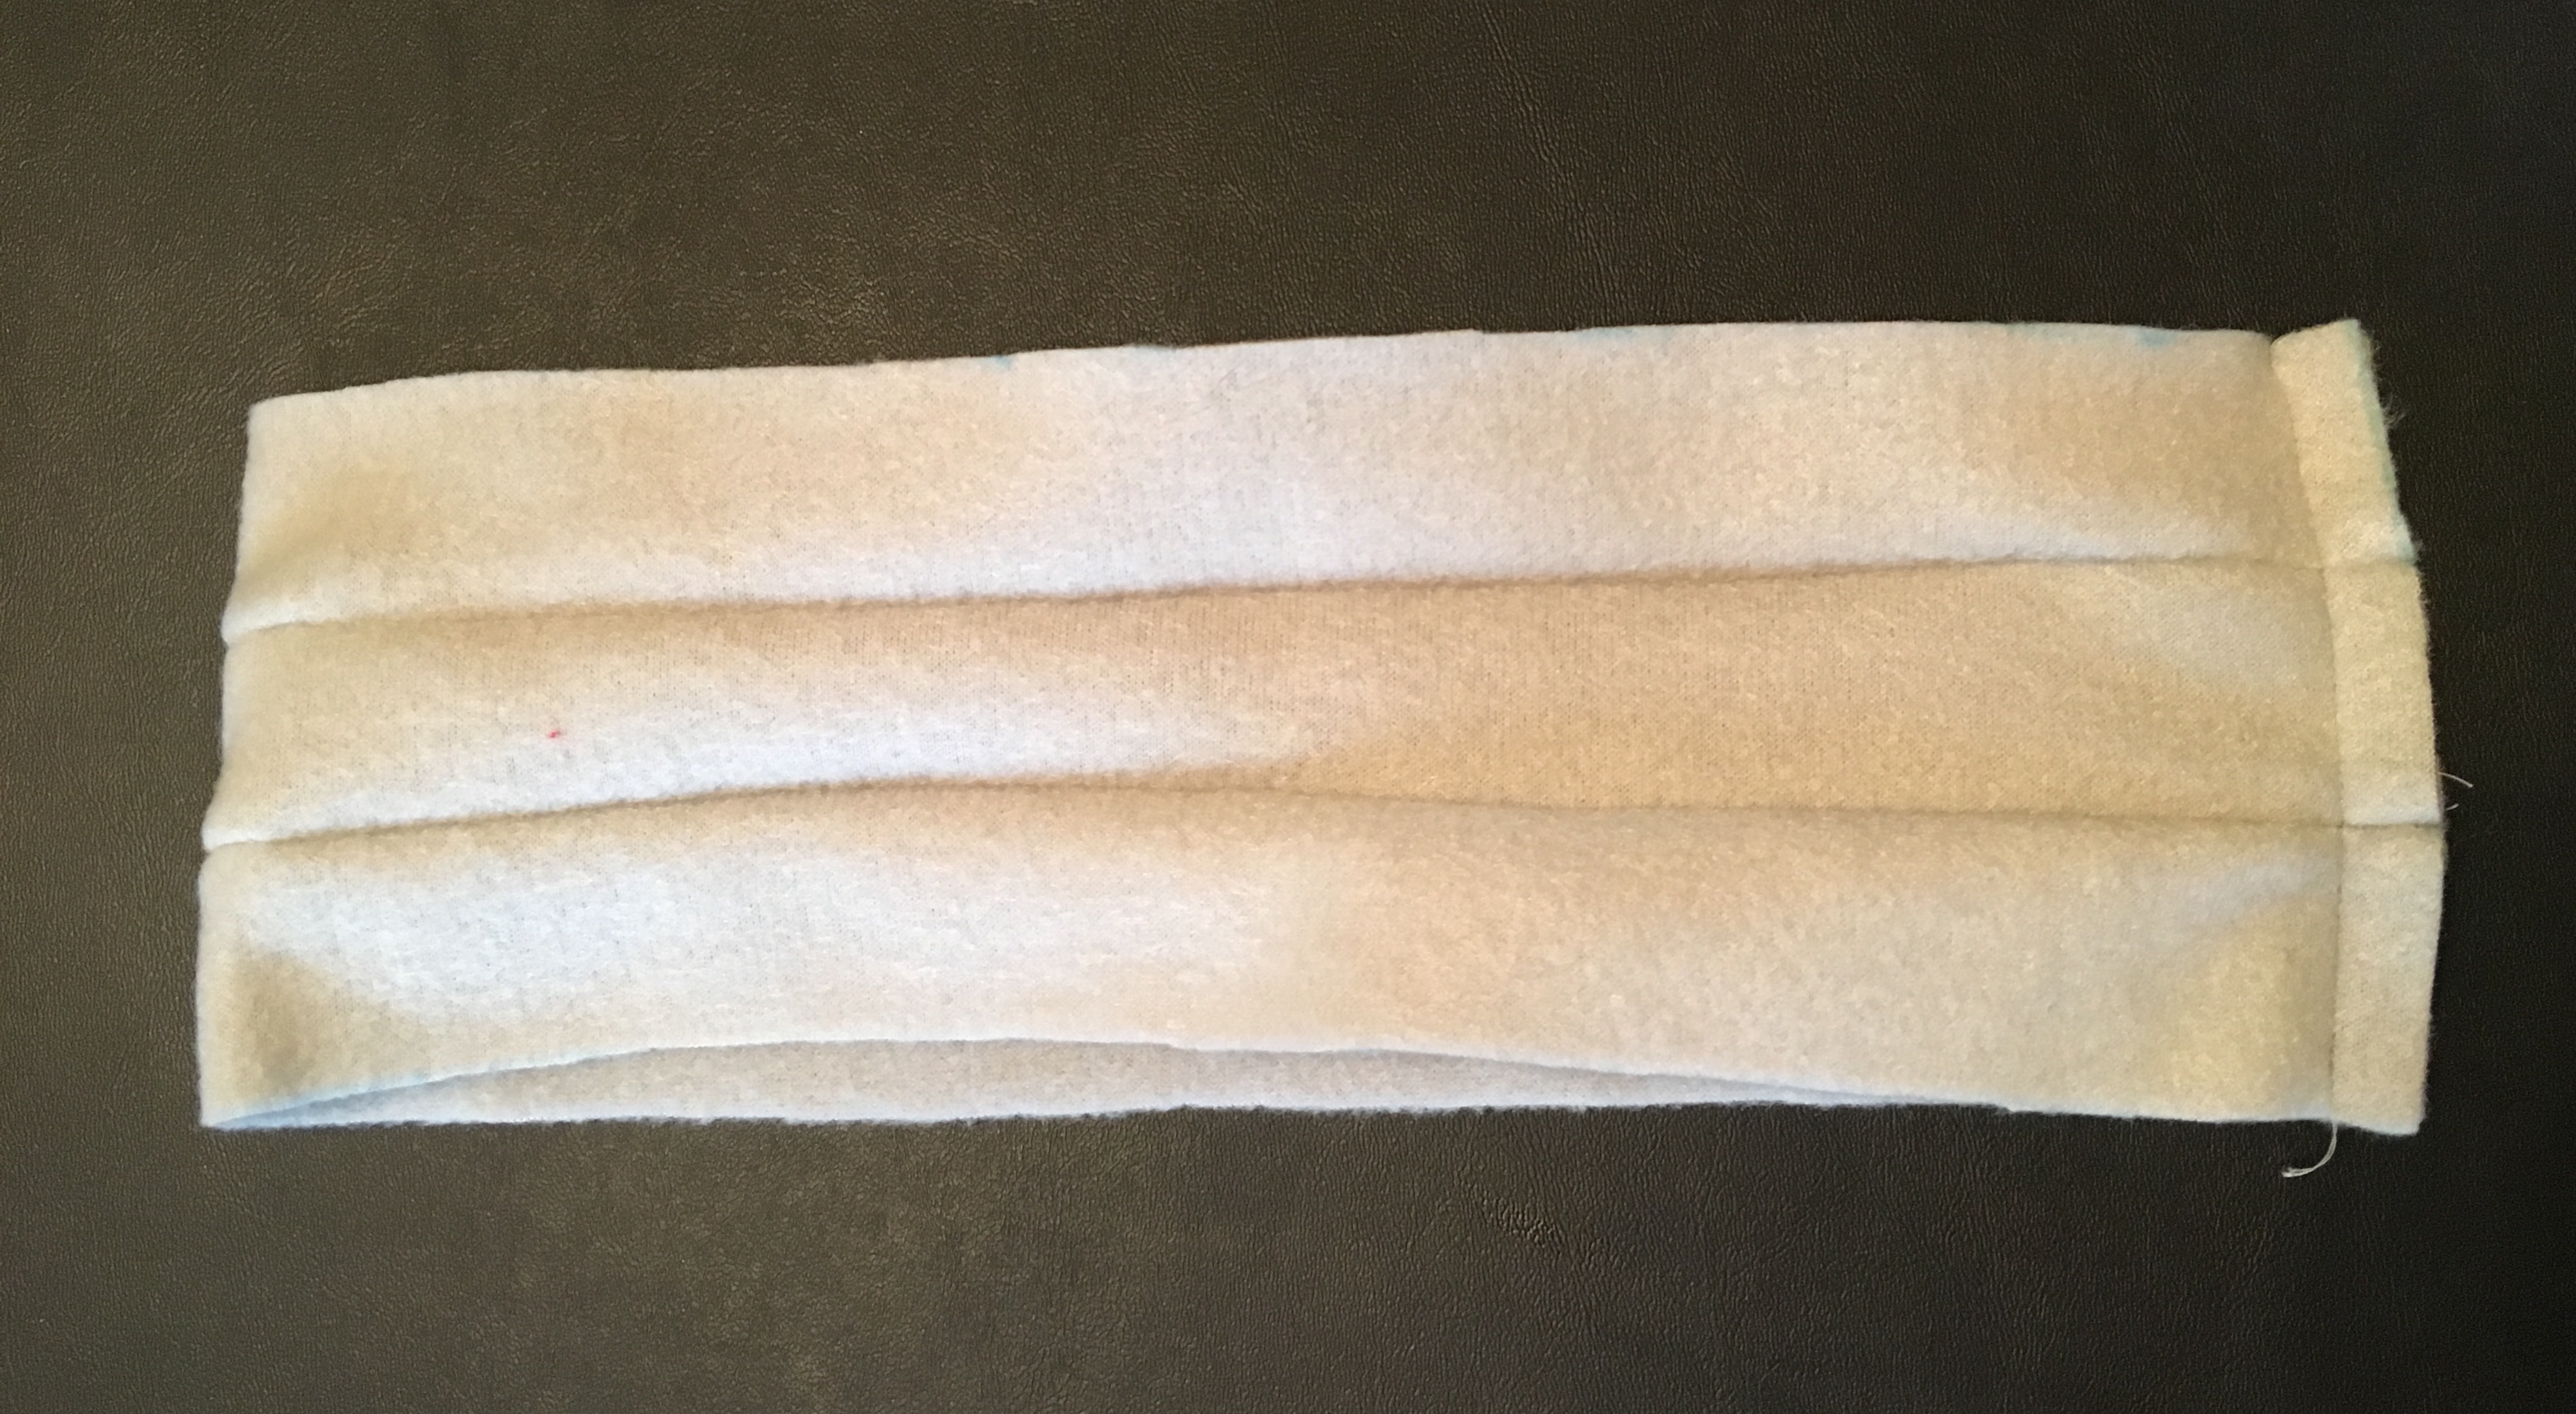
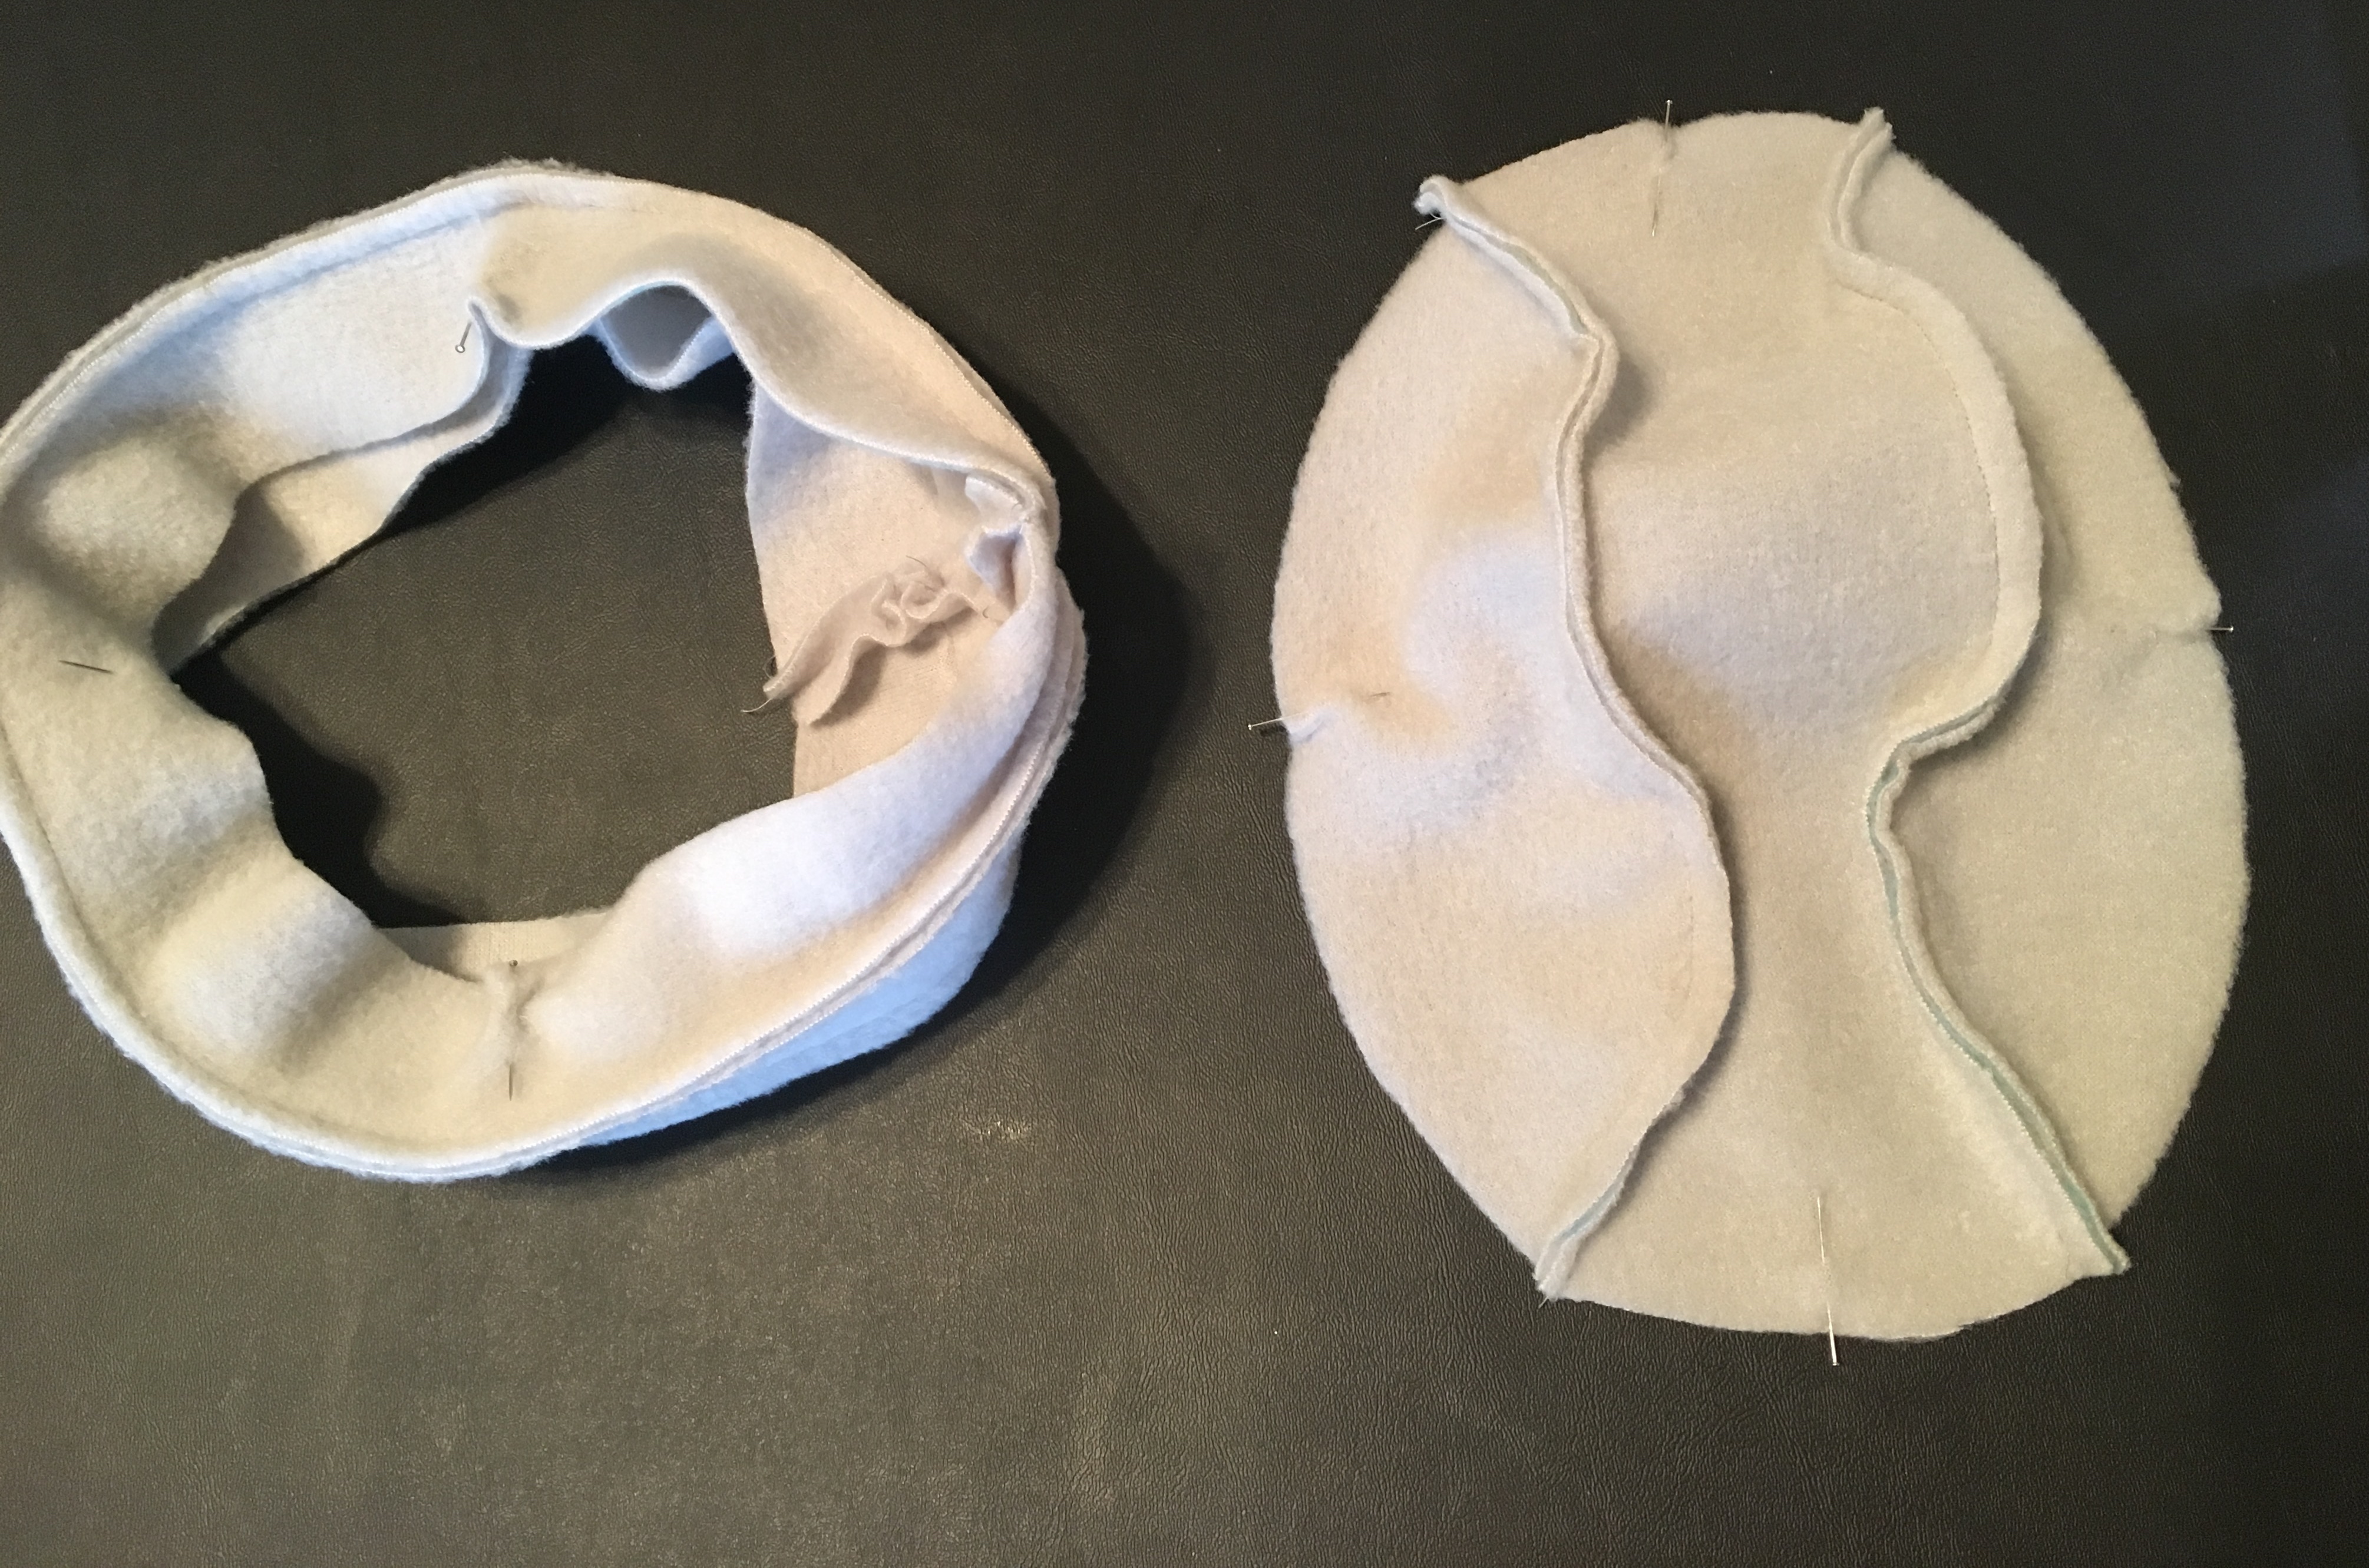
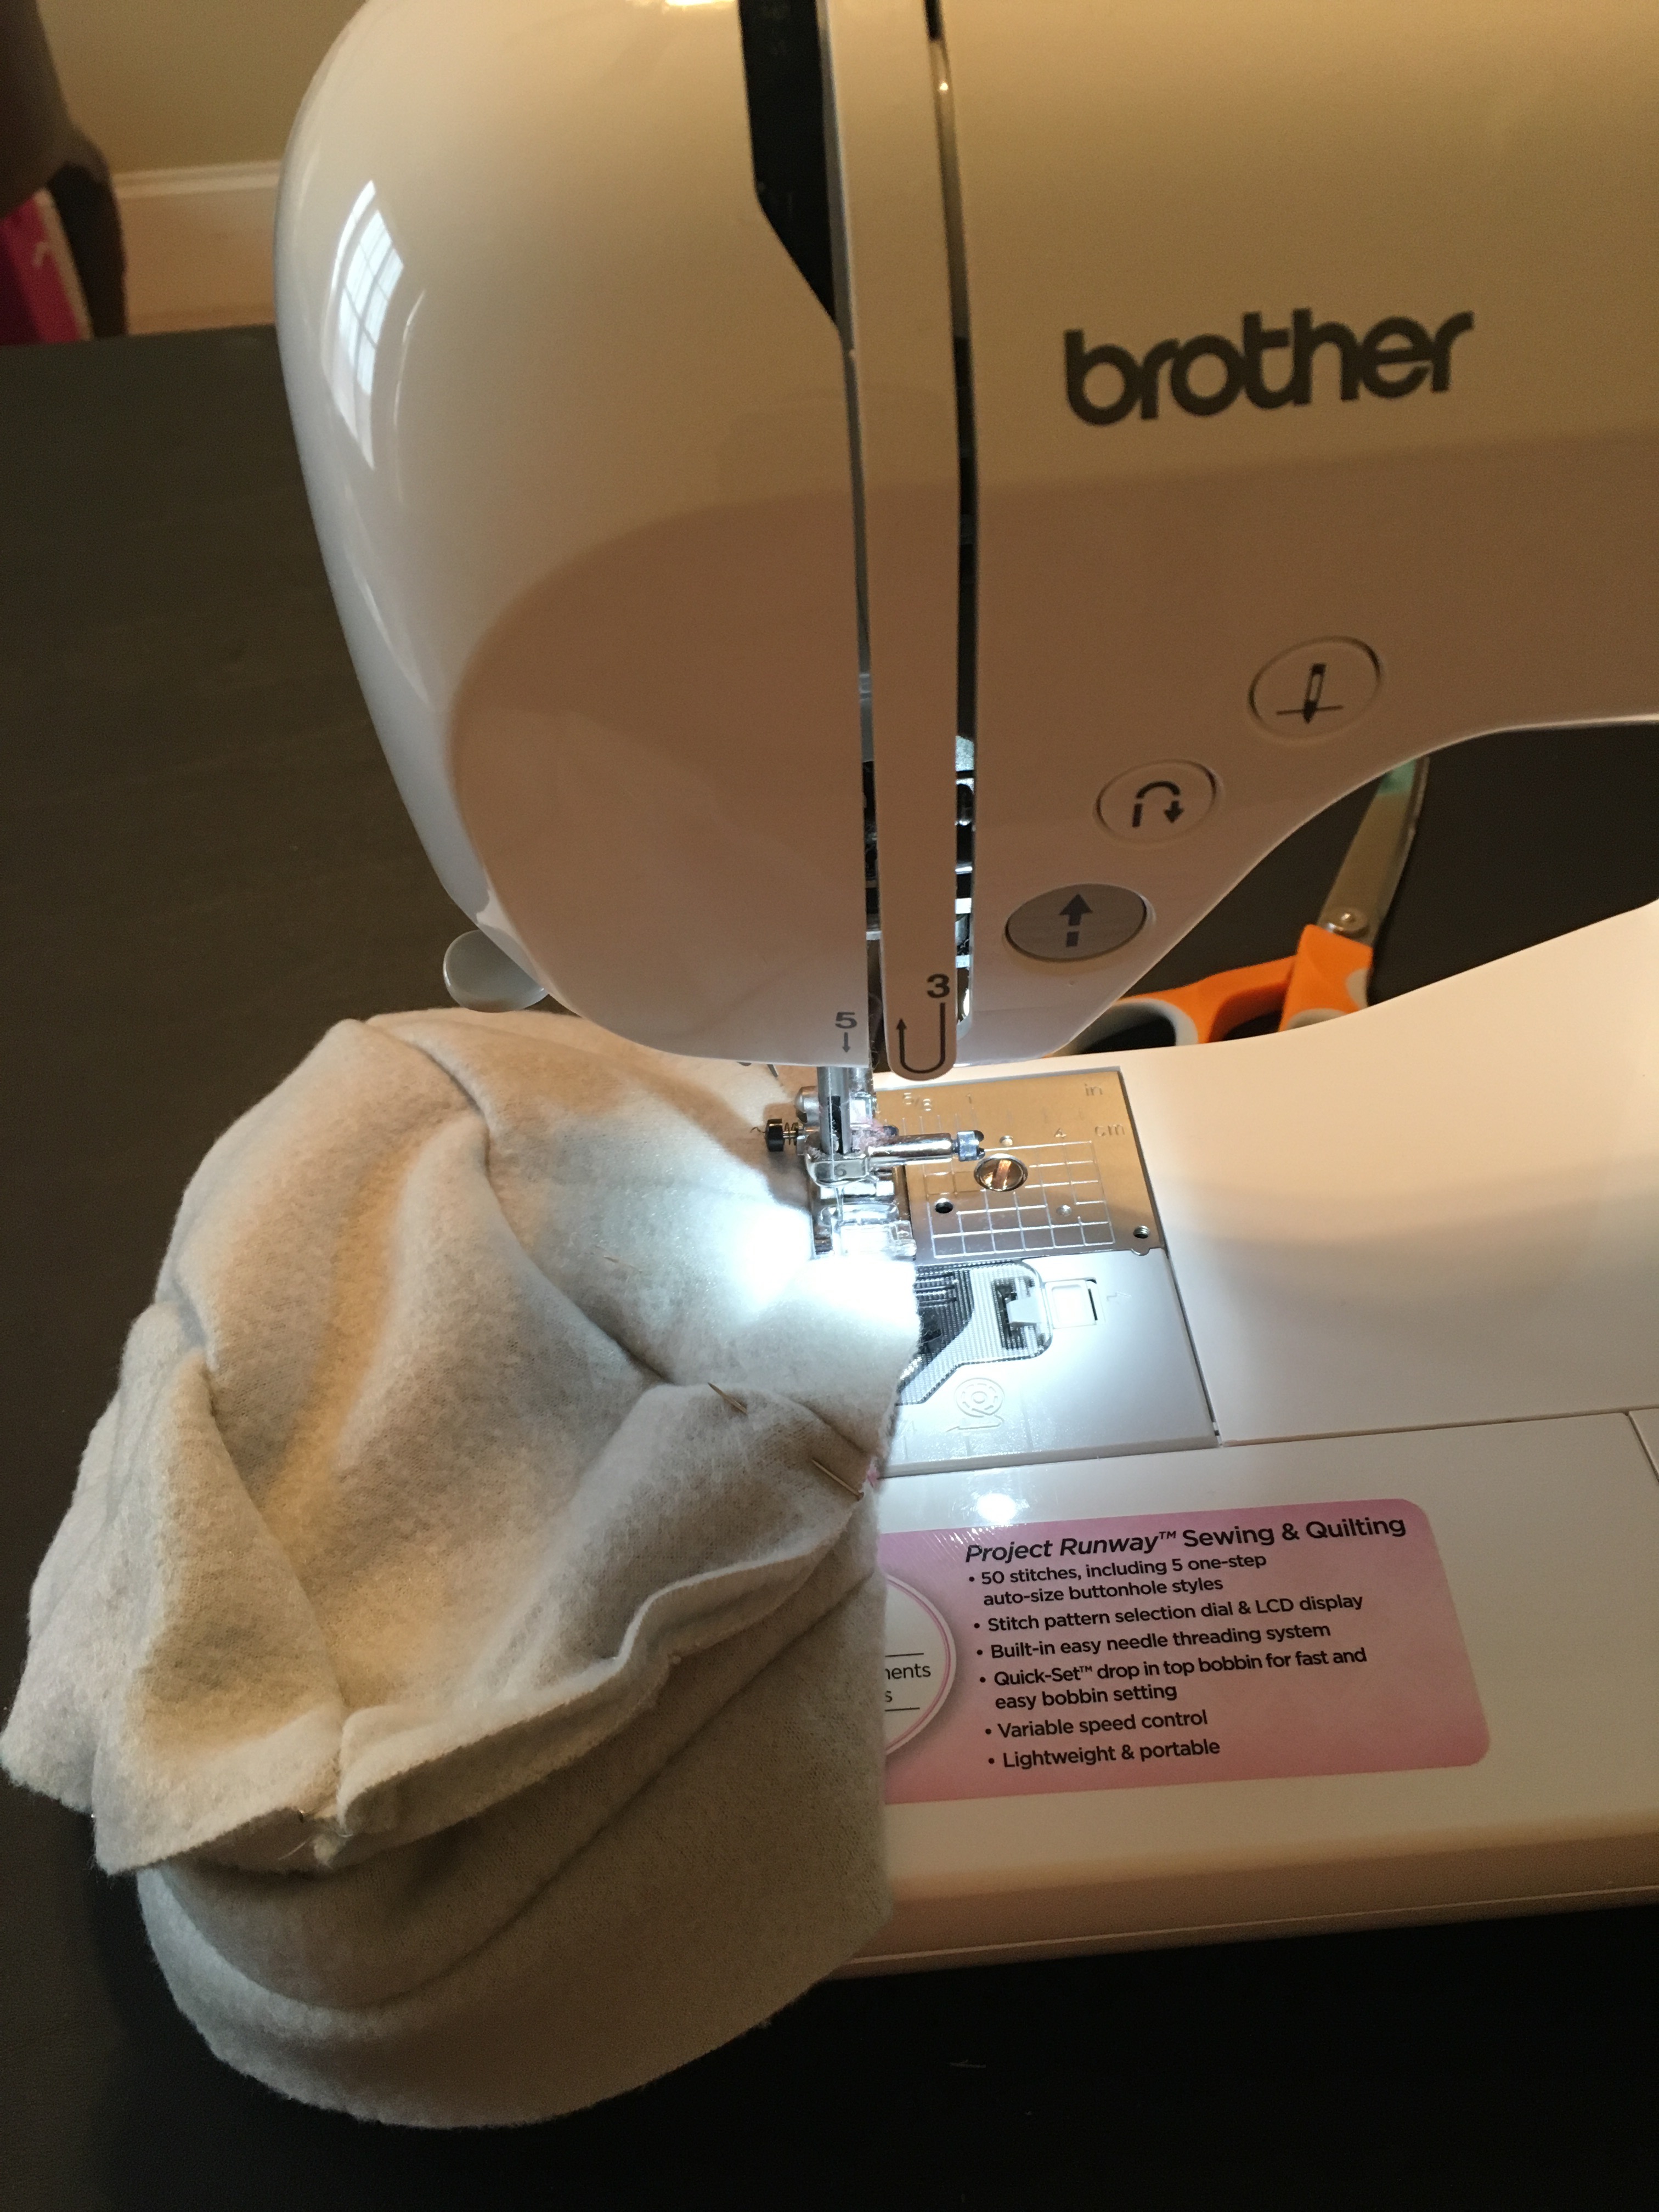
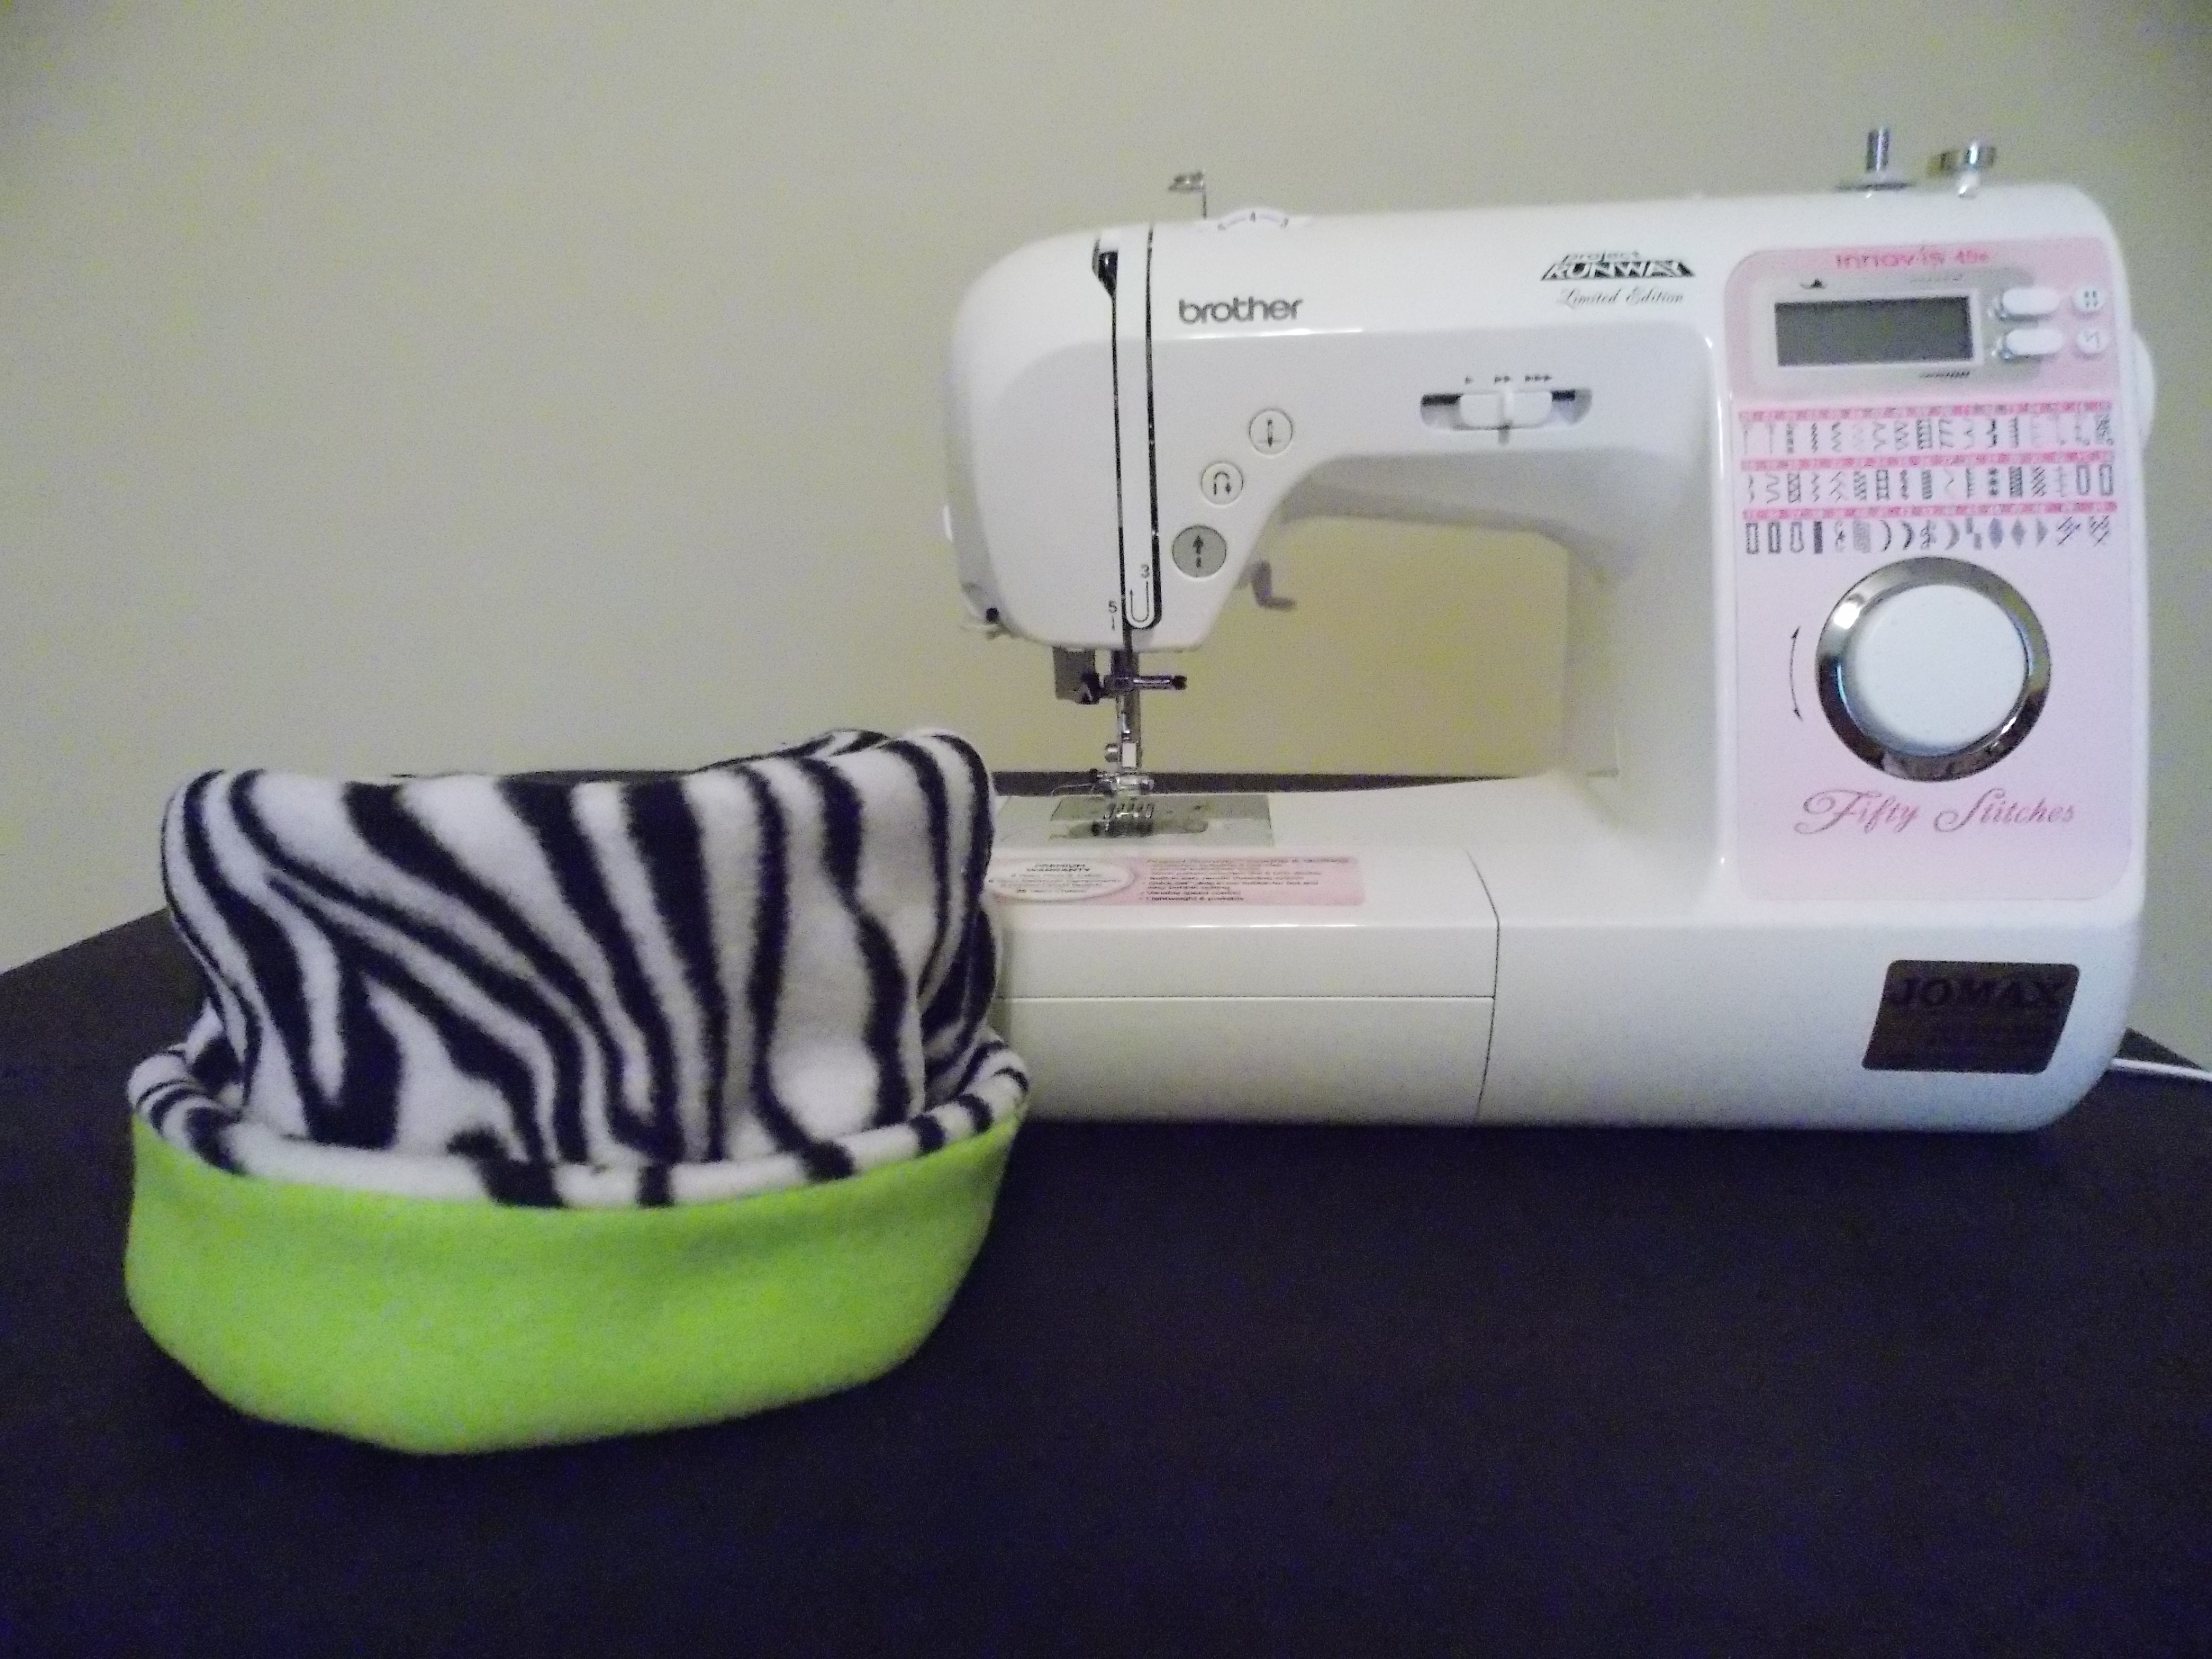
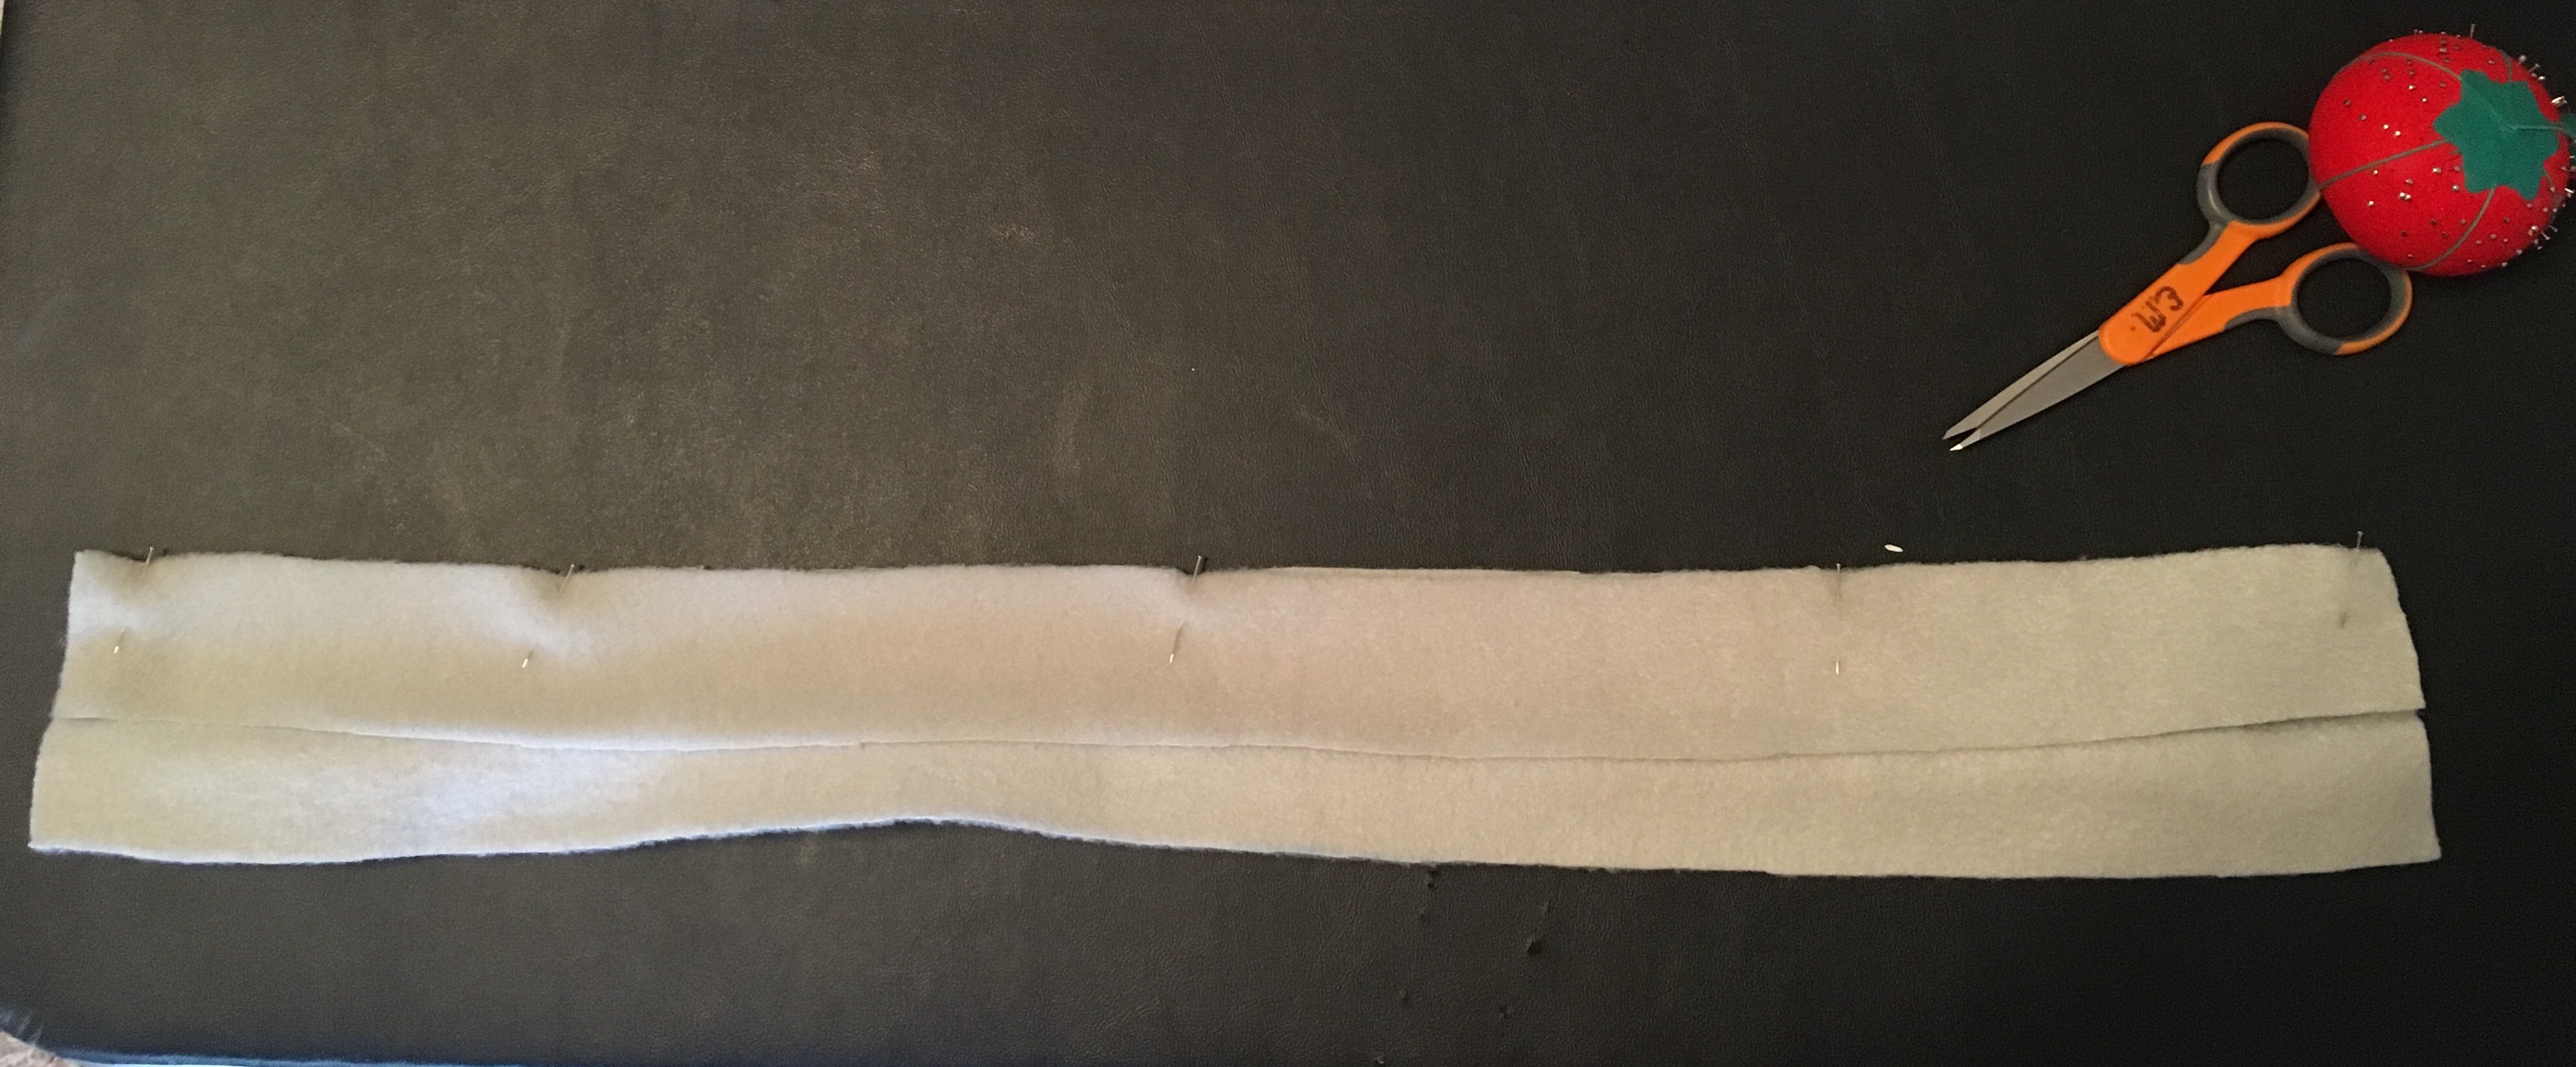
When the 3 pieces are sewn, the right side of the band will look like this:img_2635
  3. Fold the whole thing in half by width, right sides together.  Match the seams and pin it. img_2636
  4.  Sew with a 1/2″ seam to complete the band.  Press open the seam.  Then turn rightside-out. Be sure all the sidestrip seams fold downimg_2637img_2638

Making the top:

  1.  Pin the more arched side of one of the B pieces to one side of the C piece, wrong sides together.  Match the ends, and then follow the curve around. Sew with a 1/2″seam.img_2642
  2. Repeat on the other side of the C piece – Pin the other B piece to the other side of the C piece, wrong sides together, matching ends first and following the curve around.  Sew to attach the same way, with a 1/2″ seam. img_2643

When completed, the right side of your hat top will look like this:img_2644

Completing your Sassy Cap: 

  1. Find the 1/4ths around your hat band by folding it in half one way and then the other, and marking the center spots with a pin.  The seam will be one of the marks on the band. Do the same for the top of your hat.img_2645
  2. Pin the top of the hat to the top of band, right sides together, matching 1/4ths and working in between.  img_2648
  3. Sew around the top of the hat, with a 1/2″ seam, making sure not to catch any of the rest of the hat, with the seam running along the outside.img_2650
  4. Turn it rightside-out and… Voila! You should have the supercute Sassy Caps pictured at the top of this tutorial.  The only seams that will touch the heads of the recipients will be the back seam of the band, and the seam around that attaches the top to the band.  We don’t hem them because it would another seam to irritate sensitive skin, but you could if you wanted to.  We made the cute pins, just by cutting out felt & attaching some beads & buttons, but you can make them in fun patterns, or dress them up any way you like!

Other hat patterns for the sewing machine

Here is a link to a free pattern that you can use: Creative Kindness Easy Hat. It is also nice and seamless inside, but requires you to double the fabric, which can get heavy & hot.  Still, I used it to make this cute one!

DSCN0062

Here’s a similar pattern, free at Headhuggers. See what you like!